

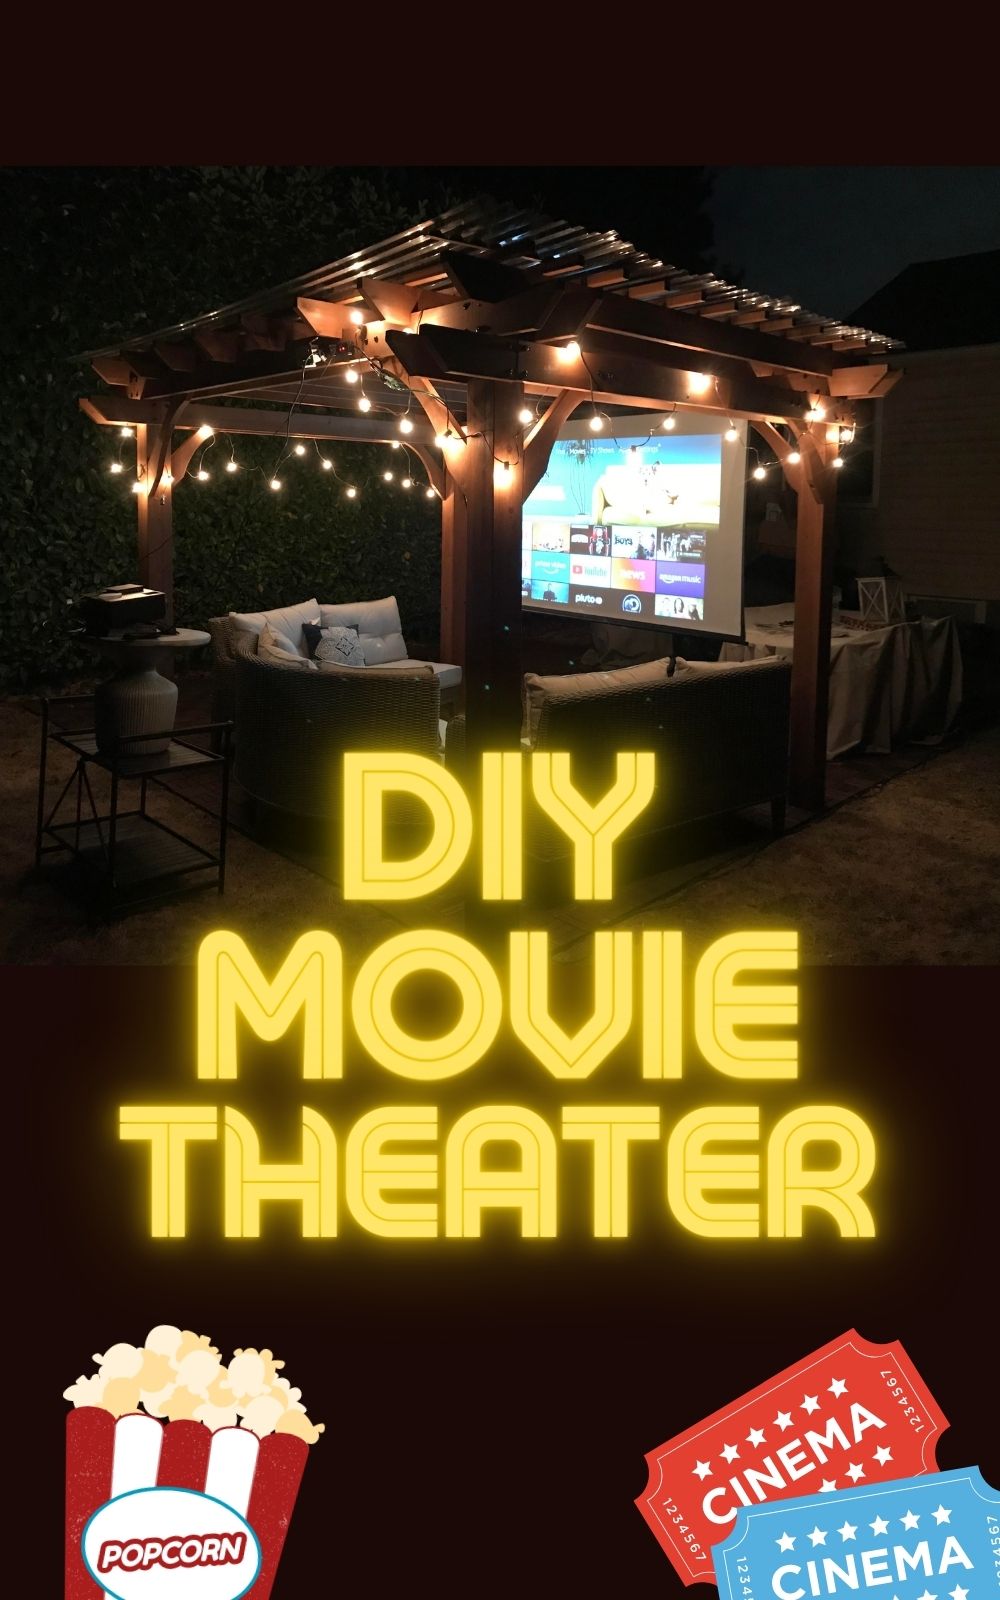
I am so excited about my latest DIY home project which is a backyard movie theater with a projector screen! We are spending much more time at home this year than in years past so we really wanted to make the backyard special.
Now, we can spend cozy nights as a family watching our favorite movies on the projector screen under the twinkly lights of the pergola. Just last night I snuggled up with a blanket and a glass of wine and was able to stream my favorite TV show on the projector screen. Amazing!

Yes, I can always watch a movie in my basement but there is something very special about the ambiance created with a backyard movie theatre. Just add popcorn and I feel like I’m transported to a whole new place.
This renovation project started last year when we upgraded our concrete patio and splurged on patio furniture. This year, we decided to add a pergola to provide some shade in the hot summer months.
Once the pergola was complete we decided to add a projector screen and projector to really create the whole backyard movie experience. This post is a DIY post on how to create your own outdoor backyard theatre.
Step 1 – Build the pergola that will become the frame for the movie theater
I always knew I wanted a pergola for shade and the fact that our pergola can double as the frame for our projector screen is even better!
We chose this one from Backyard Discovery which has amazing DIY backyard kits that you assemble yourself. The pergola kit ships to you with directions and everything you need to build the pergola.
You can pay extra to get professional installation if you don’t want to DIY but we did this project ourselves and its totally doable without the professional install.
I recently let Backyard Discovery know that I had purchased their pergola kit and was planning on writing a post. They sent me their Aspen Playhouse which I can makeover in my next post! What a thoughtful gesture and I can’t wait to write about the playhouse makeover soon.
My husband and I were able to assemble the pergola together just the two of us. He did the majority of the work and only called me outside a couple of times to help with holding one end of the pergola up.
We had never built anything like this before and frankly, we were surprised by how easy it was. It took us two days to assemble the pergola and we only worked a few hours each day with plenty of breaks. We have a one-year-old so it takes awhile to get things done!
Here is why I love this pergola kit:
- Love the color of the wood
- Quality is great
- Shipping was fast
- Easy to setup yourself
We actually installed a clear roof over the pergola because we live in the Pacific Northwest and we have drizzly rain most of the year. Now, we can use our home theater year round which we’re really excited about.
Step 2 – Install the projector screen to the pergola
After we had the pergola complete we installed our projector screen directly to the longest side of the pergola frame. We chose the 100 inch projector screen pictured below and we are super happy with the quality and the size.
This screen may seem big but that is the whole goal of an outdoor movie theater and adds to the realness of the experience.

![]()
We didn’t do anything fancy to install the projector screen. We just screwed it into the side of the pergola using standard screws and a drill motor.
So far it has held up with the weather and the projector image looks really crisp on this screen. This here is the projector screen we chose.
Now, if you don’t want to build a pergola and use that as the frame on your outdoor theatre, you can just buy a stand up projector screen like this one here. We saw another family use this screen when we were camping and thought it was pretty cool.
Personally, I like the feel of the outdoor theater built into a pergola because it adds to the cozy experience of watching a movie outside but you can do this project as a standalone effort too.
Step 3 – Setup the projector behind your furniture
We had the hardest time picking a projector because we had never purchased one before. There were so many options in all different price ranges.
We decided to go with a projector in the medium price range and we are super happy we chose the one we did. The picture quality looks amazing and we definitely do not need to upgrade to something better.

The projector we chose comes with a carrying case too which makes it really easy to transport. Our goal is to eventually install the projector in a box to the back side of the pergola like we saw on YouTube but for now we have it setup behind the patio furniture![]() . We take it inside after we are done using it.
. We take it inside after we are done using it.
We run an extension cord from the back of the house to the projector which powers the theater.
Here is the projector we bought and love.
Why we love this projector:
- Picture quality is GREAT
- You can watch shows during the daylight too
- It’s on the affordable end and still works great
If we wanted to, we would upgrade the sound quality perhaps with some outdoor speakers. For now, the speakers that come with the projector are fine for our purposes.
Don’t forget to use your FireTV stick so you can stream your favorite movies and TV shows directly to your projector! We plug it into the back of the projector.
We also brought out our wireless range extender to help our internet work better in our backyard but we haven’t even had to plug that in yet. Our internet was coming in just fine with no interruptions to the streaming. Your internet quality in your backyard may vary and you may have to use an extender.
If you don’t want to use WiFi, you can always use a DVD player and plug that into the projector when watching a movie.
Step 4 – Set up the twinkly lights to make it feel cozy
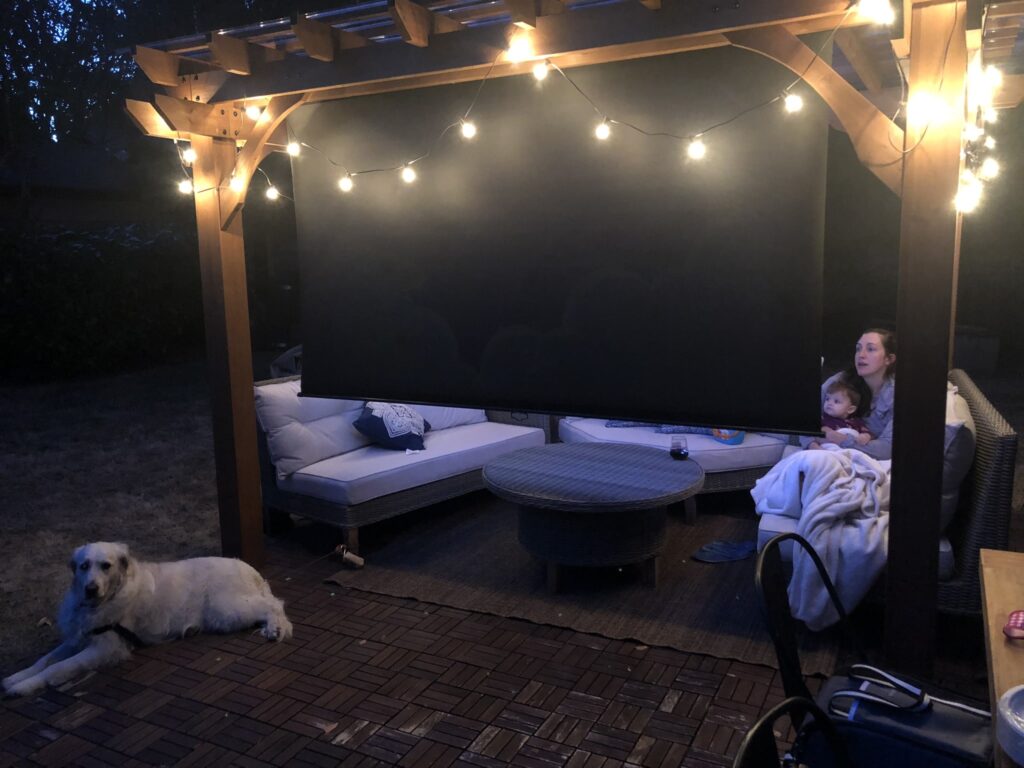
I found these twinkly outdoor lights on clearance at a local supermarket and I think it really adds to the feel when you are watching a movie.
You can’t see it in the picture really but I also added an outdoor rug from Wayfair which is another extra that I think makes the project really complete. I like to take my shoes off when watching a movie but don’t want to put them down on the patio floor which gets dusty and dirty. The rug helps out alot.
The patio furniture itself is from Joss & Main, I talk about it more in this post linked below.
Related Post: My favorite backyard projects to makeover your home this year
Overall, this was a really exciting project that really added to our happiness at home this year.
What do you think? Are you thinking about setting up a home backyard theater?
- How to Make a Backyard Movie Theater with a projector screen - September 19, 2020
- HONEST Passive Income Planner Girl by Michelle Rohr course review - May 25, 2020
- 35 Pink Aesthetic Wallpapers with Quotes and Collages - May 20, 2020
Leave a Reply